Understanding Battery Corrosion on Toys
Toy enthusiasts and concerned parents alike may encounter the perplexing issue of battery corrosion on their beloved toys. Battery corrosion refers to the chemical reaction that occurs when batteries leak or discharge, resulting in the formation of corrosive substances. When left unattended, this corrosive residue can cause irreversible damage to both the electronic components of toys and their surrounding surfaces.
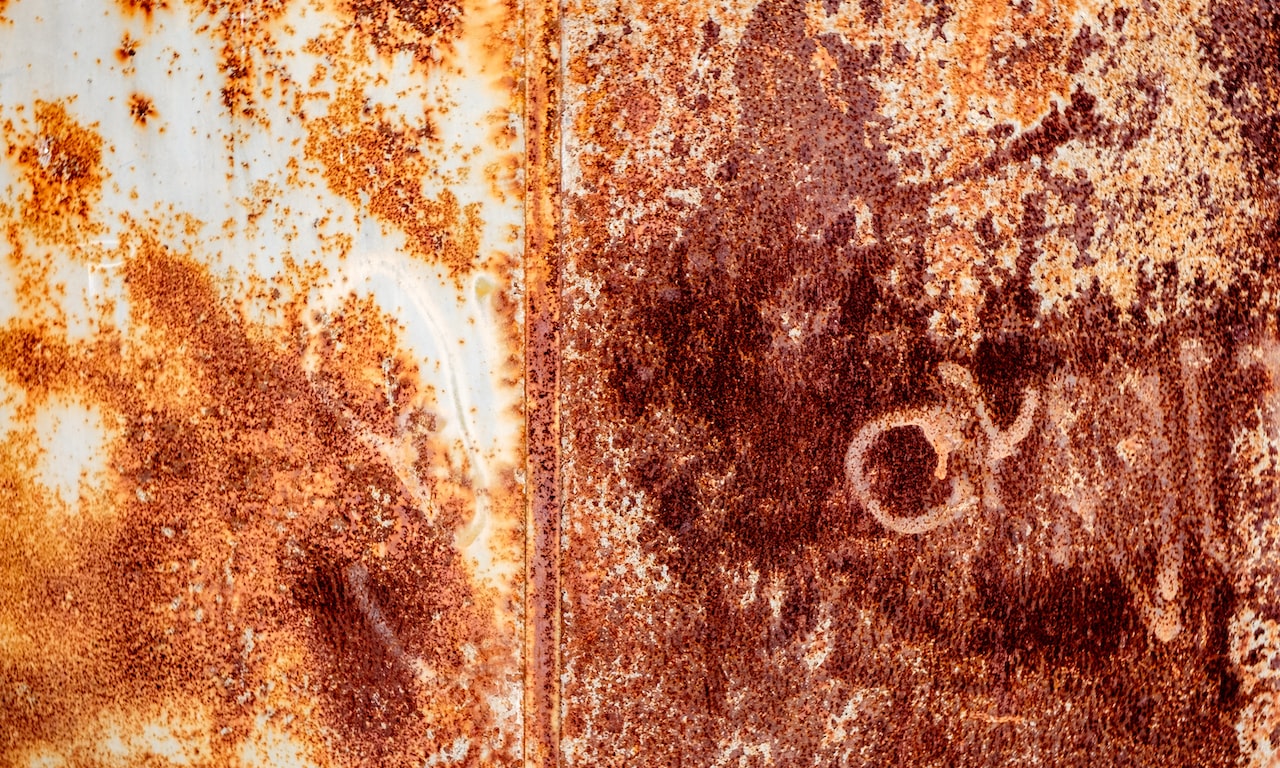
Causes of battery corrosion on toys
The causes behind battery corrosion on toys can be attributed to various factors. One primary cause is prolonged usage without changing or removing depleted batteries promptly.
Over time, aging batteries lose their ability to hold charges efficiently and are more prone to leakage. Additionally, exposing toys to elevated temperatures can accelerate this deterioration process, leading to increased risk of leakage and subsequent corrosion.
Furthermore, physical damage inflicted upon batteries or misuse such as mixing different types of batteries can also contribute to corrosive reactions occurring within toy compartments. Inconsistencies in design or manufacturing defects may heighten vulnerability towards leaks as well.
Dangers of battery corrosion
The dangers arising from battery corrosion extend beyond mere aesthetic damages; they encompass potential risks for both individuals handling these toys and their overall functionality. Firstly, the corrosive substances produced by leaked batteries can corrode and degrade electronic circuits, rendering toys inoperable. This not only leads to disappointment for the toy’s owner but can also result in financial loss if repair or replacement becomes necessary.
Furthermore, battery corrosion poses a risk to human health, particularly if touched or ingested. The corrosive compounds can cause skin irritations, burns, or even chemical injuries if they come into contact with unprotected skin.
Ingesting battery corrosion can lead to poisoning and may require immediate medical attention. Thus, it is crucial to handle toys affected by battery corrosion with utmost care and adhere to proper cleaning protocols to mitigate these potential dangers.
Safety Precautions before Cleaning Battery Corrosion on Toys
Importance of Safety Precautions
When it comes to cleaning battery corrosion on toys, safety should always be the foremost priority. Battery corrosion involves potentially harmful substances and can pose risks if not handled with caution. Therefore, taking necessary safety precautions is essential to protect yourself and to prevent any further damage to the toy or potential harm to others.
Necessary Protective Gear
Before embarking on the task of cleaning battery corrosion, it is crucial to equip yourself with the appropriate protective gear. These protective items will serve as a barrier between you and any potentially hazardous materials. Let’s explore some essential protective gear:
Gloves
Wearing gloves is imperative when dealing with battery corrosion. Chemicals present in corroded batteries can cause skin irritations or burns if they come into contact with your bare hands. Opt for disposable gloves made from nitrile or latex material, ensuring that they fit snugly for better dexterity.
Safety Goggles
Battery corrosion can lead to the release of harmful vapors or splattering of corrosive substances during cleaning. To safeguard your eyes from potential damages, it is crucial to wear safety goggles that provide a secure seal around your eyes, shielding them from any accidental exposure.
Face Mask
A face mask acts as an additional layer of protection by preventing inhalation of toxic fumes released during the cleaning process. Choose a mask that fits securely over your mouth and nose, preferably one with a filter suitable for chemical fumes.
By following these safety precautions and ensuring that you have the necessary protective gear in place before attempting to clean battery corrosion on toys, you can mitigate potential risks and ensure a safe cleaning process. Remember, your well-being is of utmost importance, and being proactive in protecting yourself will lead to a more successful outcome.
III. Tools and Materials Needed for Cleaning Battery Corrosion on Toys
List of Essential Tools
When it comes to effectively cleaning battery corrosion from toys, having the right tools at hand is essential. Here is a comprehensive list of tools that will aid you in this task:
Screwdriver:
A screwdriver with interchangeable heads (both flathead and Phillips) is crucial for removing screws that hold the toy’s battery compartment in place. The correct size and type of screwdriver head ensure a secure grip, preventing any damage to the screws during removal.
Cotton Swabs:
Cotton swabs are versatile tools that are highly effective in cleaning hard-to-reach areas affected by battery corrosion. The soft cotton tips allow for gentle yet thorough cleaning without leaving any lint residue behind. It’s recommended to have a decent supply of cotton swabs on hand as they may need to be replaced during the cleaning process.
Toothbrush with Soft Bristles:
A toothbrush with soft bristles serves as an excellent tool for scrubbing away stubborn corrosion from plastic or metal surfaces without causing damage. The gentle bristles provide enough friction to remove the corrosion while ensuring that delicate parts remain intact.
Small Brush or Toothpick:
In certain cases, you may encounter tight spaces or intricate details where a toothbrush cannot reach easily. In such situations, having a small brush or toothpick is advantageous. A small brush with fine bristles helps clean smaller crevices, while a toothpick can be used to dislodge debris from tiny openings without causing any harm.
Isopropyl Alcohol or Vinegar:
The cleaning agent you choose plays a vital role in dissolving battery corrosion effectively. Isopropyl alcohol, with its strong solvent properties, is a popular choice for cleaning battery corrosion. Alternatively, vinegar can also be used as a safe and natural cleaning agent.
Both options work by breaking down the corrosion and making it easier to remove. By using these essential tools and materials in your battery corrosion cleaning process, you can ensure that your toys are restored to their original condition safely and efficiently.
Step-by-Step Guide to Clean Battery Corrosion on Toys
Removing the batteries safely
Before embarking on the task of cleaning battery corrosion from your beloved toys, it is imperative to ensure safety by removing the batteries in a cautious manner. Begin by locating the battery compartment, which is typically found on the underside or back of the toy. In most cases, a small screw or latch secures the compartment.
In order to remove the batteries safely, you will need a suitable screwdriver that fits snugly into the screws holding the battery compartment cover. Choose a screwdriver with an appropriate size and shape to avoid stripping or damaging the screws.
Grasp the toy firmly in one hand and use your other hand to loosen each screw counterclockwise until they are fully released. Once all screws are removed, gently lift off or slide out the battery compartment cover depending on its design.
Carefully lift out each battery and place them aside for proper disposal later. It is crucial to avoid touching any corroded areas during this process as it can be harmful to your skin.
Inspecting the toy for damage caused by corrosion
With the batteries removed, it is essential to examine your cherished toy for any visible signs of damage caused by battery corrosion. Corrosion can manifest as discolored, powdery substances around and within the battery compartment.
An unpleasant odor may also accompany corroded parts. Closely inspect all components adjacent to or in contact with the corroded area for signs of deterioration.
Pay particular attention to metal contacts or springs that connect with batteries as they are more prone to damage from corrosive substances. Look for any discoloration, rusting, or weakened structural integrity.
Disassembling the toy if necessary for better access to corroded parts
While some toys can be cleaned without disassembly, certain designs may require partial or complete dismantling to gain better access to the corroded parts. Disassembling the toy allows for a more thorough cleaning process and minimizes the risk of leaving any remnants of corrosion behind.
To disassemble your toy, refer to any user manuals or instructions that came with it. If no documentation is available, carefully inspect the toy for visible screws or fasteners that hold different components together.
Use an appropriate screwdriver or tool to remove these screws and detach each part with care. Keep in mind that disassembling the toy can be complex and vary depending on its design.
Take photographs or make notes during this process to ensure smooth reassembly later on. It is crucial to handle each disassembled part delicately and avoid applying excessive force that could further damage the toy.
Cleaning the Toy’s Battery Compartment and Contacts
Removing loose debris from the compartment using a soft brush or toothpick.
The first step in cleaning a toy’s battery compartment is to ensure that it is free from any loose debris that may have accumulated over time. This can include dust, dirt, or even small fragments of corroded material. To effectively remove these unwanted particles, you can use a soft brush or a toothpick.
Dampening a cotton swab with isopropyl alcohol or vinegar to clean the contacts.
After clearing out the loose debris, it is essential to clean the contacts within the battery compartment. This ensures optimal electrical conductivity and helps prevent further corrosion.
A suitable cleaning solution for this purpose is either isopropyl alcohol or vinegar. Both substances are known for their ability to dissolve and remove residue without causing damage to delicate components.
Gently rubbing the contacts with the dampened cotton swab.
To clean the battery contacts effectively, dampen a cotton swab with your chosen cleaning solution¡ªeither isopropyl alcohol or vinegar. Take extra care not to oversaturate the cotton swab as excess liquid could potentially seep into other parts of the toy and cause damage.
Using gentle circular motions, rub the dampened cotton swab against each contact point within the battery compartment. This motion helps dislodge any remaining corrosion or grime that may be present on these surfaces.
Using a toothbrush with soft bristles to scrub away stubborn corrosion.
If you encounter stubborn corrosion that doesn’t easily come off with just a cotton swab, it may require more intensive cleaning. In such cases, using a toothbrush with soft bristles can provide added scrubbing power while still being gentle enough not to damage the toy’s delicate components.
Apply a small amount of isopropyl alcohol or vinegar to the toothbrush bristles and carefully scrub the affected areas, applying light pressure. This action should help remove tougher corrosion and restore the contacts to their original state.
Repeating this process until all visible corrosion is removed.
It is crucial to be thorough in your cleaning process, especially when dealing with battery corrosion on toys. After each round of cleaning, inspect the battery compartment and contacts for any remaining signs of corrosion.
If you notice any lingering traces, repeat the aforementioned steps until all visible corrosion has been successfully removed. By ensuring a pristine battery compartment and clean contacts, you not only improve electrical conductivity but also extend the lifespan of your beloved toys.
Cleaning Other Affected Parts of the Toy
Identifying other areas affected by battery leakage or corrosion
Once you have successfully cleaned the battery compartment and contacts, it’s important to inspect the toy thoroughly for any signs of battery leakage or corrosion in other areas. Battery leakage can spread beyond the immediate vicinity of the batteries, causing damage to adjacent parts of the toy.
Look for any discoloration, rust, or unusual substances on the surface or inside crevices of the toy. Pay close attention to joints, buttons, switches, and any areas where electrical components may be located.
These are common hotspots for battery-related issues. It’s essential to identify all affected areas before proceeding with cleaning to ensure that no residual corrosion remains that could further damage the toy.
Conclusion
Understanding how to clean battery corrosion on toys is crucial for maintaining their longevity and safety. By adhering to proper safety precautions and following a step-by-step guide like this one, you can effectively remove battery corrosion from both visible and hidden parts of toys. Cleaning other affected parts of the toy, besides the battery compartment and contacts, ensures that no residual corrosion remains which could continue to damage the toy over time.
Regular inspection and cleaning can help extend the lifespan of your toys and prevent further deterioration caused by battery leakage. So, take a proactive approach in maintaining your beloved toys.
With patience, care, and a little cleaning magic, you can enjoy your favorite toys without worrying about battery corrosion. Keep exploring new adventures and creating cherished memories with your well-preserved playthings!